

What are vanity URLs?
A vanity URL is a short domain name or URL used to convert long URLs in to short ones for sharing on social media. In this post, I’m going to explain how to set up a custom vanity URL for a WordPress blog using the Bitly service.
URL shorteners such as Bitly, Tinyurl and Goo.gl are very popular and you can see their use on Twitter and Facebook. The links start with the name of the URL shortening service and are normally followed by a forward slash (/) and what appear to be random characters. These links will not normally be more than 20 characters long giving you the opportunity to yak it up on Twitter with the extra space.
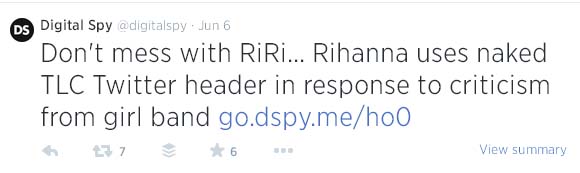
The only problem with these services is they aren’t great for your brand awareness; that’s where custom vanity URLs come in.
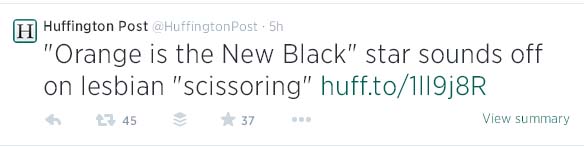
If you want to reinforce your brand using custom URLs, you need a shortened version of your domain name. Let’s use Huffington Post as an example. Their website address isn’t as long as some I’ve seen – http://www.huffingtonpost.co.uk but for social sharing they use a custom vanity URL – huff.to. The shortened URL takes you to the same web address.
To create custom vanity URLs you first need to register a shortened version of your company or website name, the shorter the name the better. Try to keep it under 15 characters, this includes the dot. You can keep things shorter by purchasing a top-level domain like .me, .to or .co. Shop around as top-level domain names can cost a bit more to register.
Setting up a custom vanity URL with Bitly
Once you’ve purchased your domain name you need to change the Domain Name System (DNS) records to point to Bitly. The DNS is what allows a web browser to translate a domain to a website. If you don’t have a Bitly account sign up for one, it’s free. Once registered, log in and make sure you have verified your email address.
- Click on the drop down arrow in the top right hand corner next to your name and then click on the settings link. You’ll be taken to a new page.
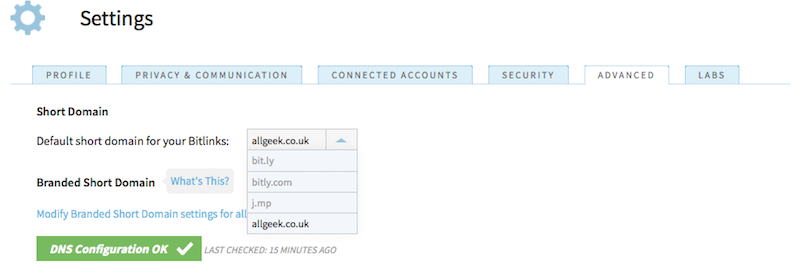
- From here click on the advanced tab, this is where you will configure Bitly to use your custom domain.
- Before you can go any further you need to state whether you are using the service for personal or business use. If you click on Business you will have to complete a survey form and wait for Bitly to get back to you. For everyone else, click on Personal.
- Now you get the chance to tell Bitly what default domain name to use for your short links. Once you’ve entered your domain name and clicked enter, you will be told to configure your DNS records. Open a new tab in your browser and go to your domain registrar control panel.
Updating your DNS records varies from registrar to registrar but you should find a ‘how to guide’ on the site.
Once you’ve found the DNS settings page, look for the domain’s existing A Record. It should have either @ as the Hostname and an IP address as the Value. You need to modify the record so that the Value field points to the Bitly IP address: 69.58.188.49.
Install WP Bitly plugin
It takes a while for the records to be updated – 48 hours in some rare cases – it was only a couple of hours in my case though. Find something exciting to do for a few hours like installing the WP Bitly plugin on your blog.
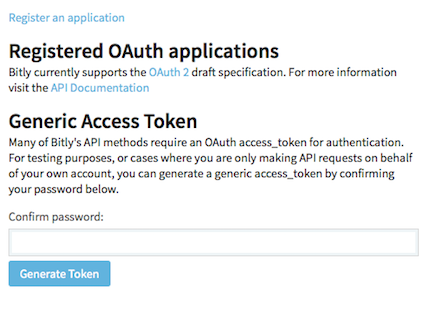
Once installed you will need to get a Bitly OAuth Token to properly use the plugin. You get this from your Bitly apps page. Enter your password and click to generate a token. You will see a string of letters and numbers. Copy this and flip back to your blog.
Go to the settings page of your admin area and scroll down until you get to the Bitly OAuth Token section. Paste your token in here and save your settings.
Checking in with Bitly
If a few hours have passed you should be able to go back to Bitly and see if your domain is listed in the Custom Short Domain field by clicking the verify button. If it is you are good to go. If not, be patient.
Once you get the green light all your blog posts will be assigned new custom URLs. Bitly will list all your posts to date so you can grab your new custom vanity URLs and re-share your previous posts.
The service comes with stats so you can see if people have clicked on your links.
New blog posts
All your news posts will be assigned a short URL. When you click on the Get Shortlink button in your editing window you will now see your custom links. If you are using Jetpack Publicize, your custom links will be automatically inserted into your social media postings.
Thanks for sharing this. NIce short URLs like Huffpost’s are getting harder to find, you have to be really creative as the good ones that make sense are gone.